If you are using an oscillating knife cutting machine and feel that it is very difficult to operate, then you can read this article several times, it will break down the operation steps of the oscillating knife cutting machine for you, and maybe it can help you. Because the author of this article After training hundreds of vibrating knife cutting machine users, I have summed up a set of the simplest operation methods, and the process of this method will be explained below.
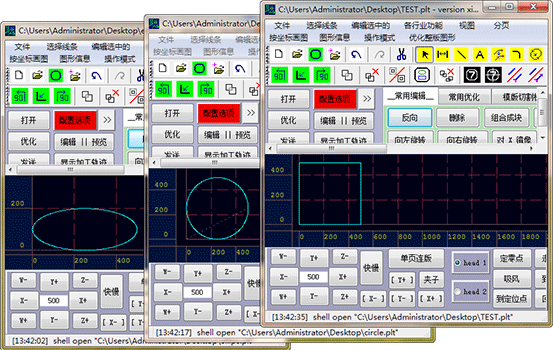
First, we can open the processing graphics in the "DXF, PLT" format in the machine's control software. Our explanation today takes the gasket cutting industry as an example, so we input a gasket design graphic, we find the graphic to be input, and double-click it in the software to open it.
We started to optimize the first element of the machining graphics - setting the correct number of operations. The vibrating knife cutting machine can be equipped with a variety of processing tools - electric vibrating knife, pneumatic vibrating knife, bevel cutting tools, marker pens, indentation tools, etc., to meet the different processing needs of customers. Each tool will have a corresponding operation number, and each operation number will have a corresponding color. If we want to choose which tool to process, we must select the corresponding process number. The method of setting the process number is to change the color of the graph. (For the process number and color corresponding to the tool, please contact us for details!)

After we optimize the number of operations on the graph, we also need to optimize the second element of processing the graph - the processing order.
How to check the processing order of graphics?
We click "View" and then click "Show Sequence" to get the processing sequence of the graphics. When we set the cutting order, we will adhere to the principle of first inside and then outside, from small to large, that is, first process the small internal graphics, and then process the outline of the graphics.
So, how do we set the processing order of graphics?
We can manually set the processing order of graphics. First, we change the processing graph into a closed graph: click "Optimize" and then click "Merge Link" to convert the processing graph into a closed graph. Then, we only need to click on the graphics, and then click the "Sort" button, and set the processing number for each part of the processing graphics according to the principle of "first inside, then outside, from small to large".
Next, we set the third element of the graph - the position and orientation of the starting point. We can click "View" and then click "Show Starting Point" to display the processing starting point and direction of the graphics. We will find that some graphics processing directions are clockwise, and some are counterclockwise.
What should we do if we want to change all graphics to the same processing direction?
We click "Common Edit", and then click "Reverse", at this time all graphics processed counterclockwise are selected, then we click the "Edit" button, and then click "Reverse", so that the processing direction of all graphics becomes clockwise.
In addition to setting the same processing direction, we can also edit the position of the cutting position. For example, when the distance between two cutting starting points is too close, we can click "Status" and then click "Change Starting Point" to change the positions of all processing starting points for optimization.
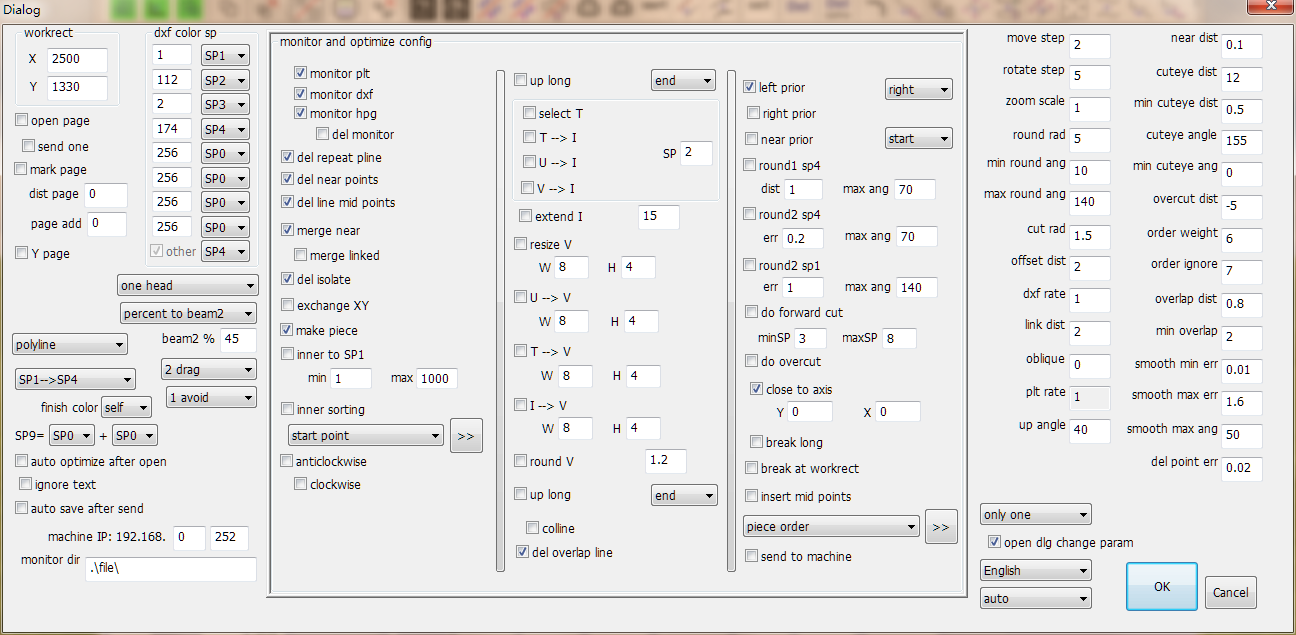
In this way, we have completed the attribute setting of the number of processing graphics operations, processing sequence, and starting point position. When we finish these, we can click the "close to the axis" button to make all the processing graphics close to the zero coordinate position of the machine, which is the last optimization setting we will talk about today. If the graphics are not close to the zero point coordinates, then we cannot accurately set the starting point of graphics cutting by setting the starting point of processing.
Finally, we can send the set cutting graphics to the machine for cutting and processing.
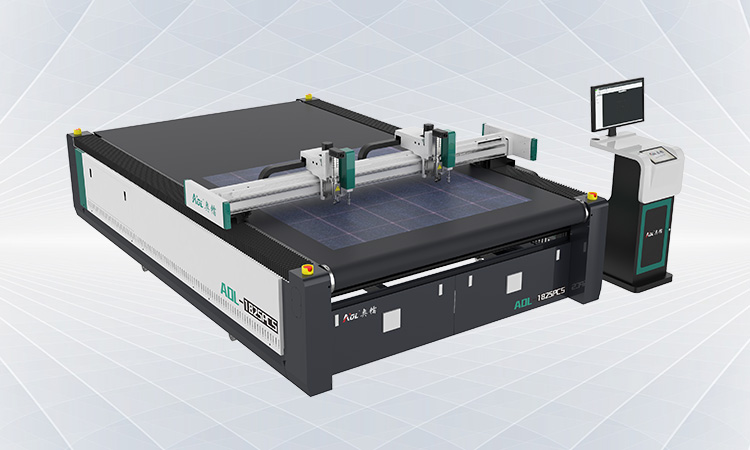
AOL intelligent blade cutting machine has high precision and high efficiency. Our professional after-sales service can provide automatic cutting solutions for various industries.
For more information, please consult:
Email: info@aolcnc.com
Phone: +86-0531-88620680
WhatsApp/We Chat: 0086-18560162709
youtube: https://www.youtube.com/channel/UCDiNQSjBR5DsAX9QfkWF7AA
Website: https://www.aolcnc.com/